|
|
Tutorial: PDT Debtors Menu |
|
|
Tutorial: PDT Debtors Menu |
Many of the functions that we have discussed in the Debtor Administration tutorial can be performed using a hand-held PDT or PDA unit. In this tutorial we will investigate the Debtor functions of a PDT unit in detail.
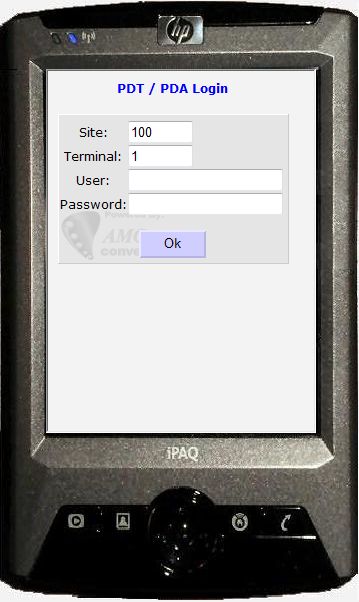
Log into the PDT by supplying a Site ID, Terminal ID, User Name and Password and press the OK button.
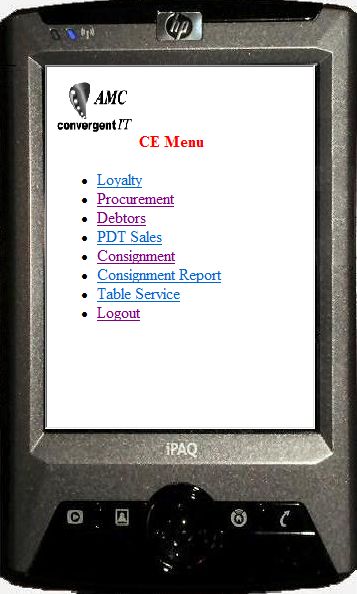
The Home Menu is displayed, listing the categories of functions that can be performed by the PDT unit. This list will vary according to the Company's enabled functions, but includes Loyalty, Procurement, Debtors, PDT Sales and Table Service. There is also a link provided in the Home Menu to securely Logout of the PDT device. This tutorial will focus on the Debtors Menu.
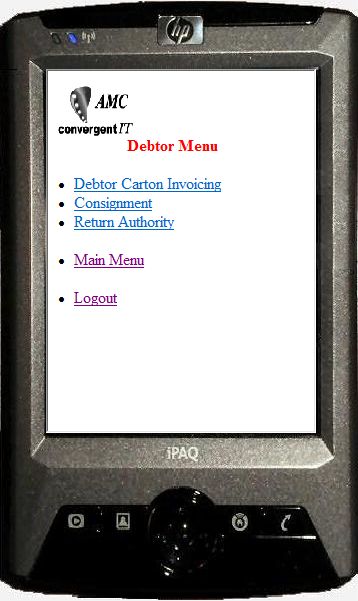
The Debtors Menu can be accessed by selecting Debtors from the Home Menu. This menu contains links to the main Debtor functions available in the PDT, including Debtor Carton Invoicing, Consignment and Return Authority. Another link, Main Menu, allows you to navigate back to the Home Menu. A Logout link is also provided in the Debtors Menu to allow the user to securely log out of the PDT unit.
The Debtor Carton Invoicing link allows you to create or edit an invoice based upon Customer Orders using Cartons. This option is only available if it has been enabled in the Company Options Pallet section. The first screen allows you to select a Customer, Invoice number and Order number from drop-down lists and enter any miscellaneous Comment as necessary. Press the Select button to edit the selected invoice or create the new invoice for the selected order. The Menu button will return you to the Debtors Menu.

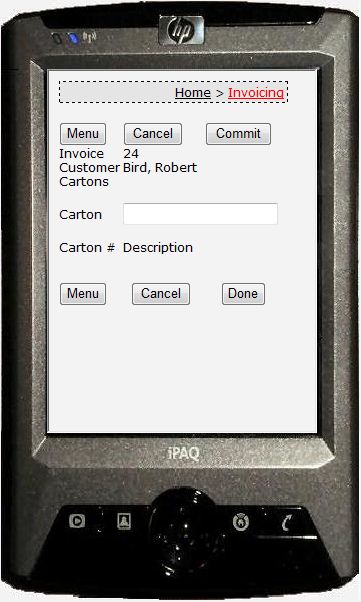
The next screen allows you to scan or enter the carton barcode being invoiced. Press the Commit button to add the carton to the invoice. As each item is added to the invoice, it is displayed in a list in the screen with its barcode and description. The Cancel buttons cancels the invoice and returns the user to the Invoice Select screen. Either Menu button can be used to return to the Debtor Menu. Press the Done button to save the invoice and return to the invoice select screen.
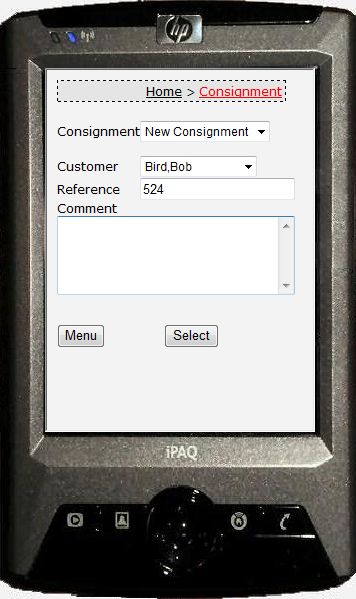
The Consignment link in both the Home Menu and the Debtors Menu allows you to edit or create new consignments from the PDT. Select the Consignment to edit or specify New Consignment to create a new consignment. Select the Customer and enter a Reference number for a new consignment - these fields will automatically be loaded when editing an existing consignment. Enter a miscellaneous Comment if necessary. Press the Select button to advance to the Item Entry screen or the Menu button to return to the Debtors Menu.
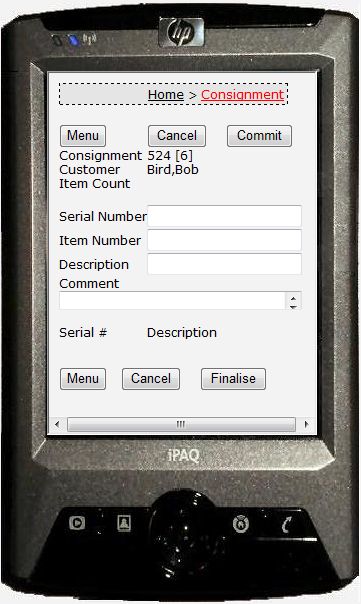
The Item Entry screen for the consignment allows you to enter the Serial Number, Item Number and Description of each item being added to the consignment as well as miscellaneous Comments as required. Press the Commit button to add an item to the consignment. As each item is added, the serial number and description of the item is added to a list and displayed in the screen. Items can be removed from the consignment by pressing the red Delete link for the item before the consignment is finalised. The Cancel buttons will return the user to the Consignment Select screen and either Menu button can be pressed to return the user to the Debtors Menu. Use the Finalise button to finalise the details of the consignment - note that no changes are possible to finalised consignments.
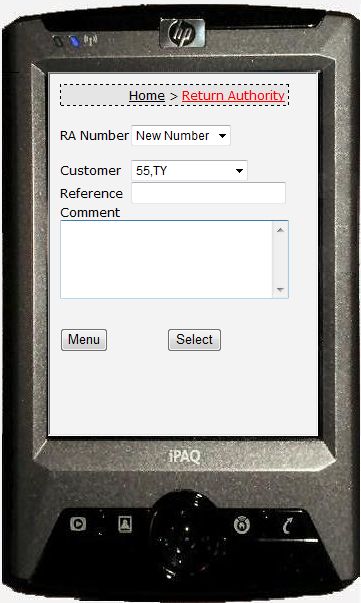
There is a Return Authority link in the Debtors Menu that allows the user to issue a return authority to a customer using a PDT unit. Select the RA Number to edit or choose New Number to create a new return. Select the Customer and enter a Reference Number for a new return - these fields will automatically be populated when editing an existing return authority. Enter any miscellaneous Comment for the return authority as required. Press the Select button to advance to the Item Entry screen for the return or use the Menu button to return to the Debtors Menu.
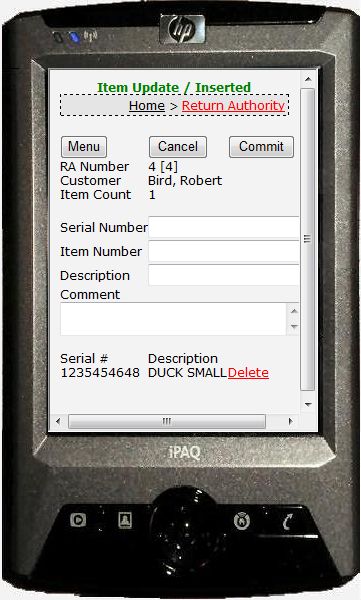
The Item Entry screen for the return authority allows you to enter the Serial Number, Item Number and Description of each item being added to the return as well as miscellaneous Comments as required. Press the Commit button to add an item to the return authority. As each item is added, the serial number and description of the item is added to a list and displayed in the screen. Items can be removed from the return authority by pressing the red Delete link for the item before the return is finalised. The Cancel button will return the user to the Return Authority Select screen and the Menu button can be pressed to return the user to the Debtors Menu.
In this tutorial we have investigated the screens that provide functions for the Debtors system in a PDT unit. The use of a PDT unit allows the user to be mobile while still allowing the common functions to be utilised.